Understanding launchSettings.json File Configuration
This article assumes that you have already created an ASP.NET or Web API Core project. If you haven’t done it yet, I suggest you create one or open an existing ASP.NET Core project.
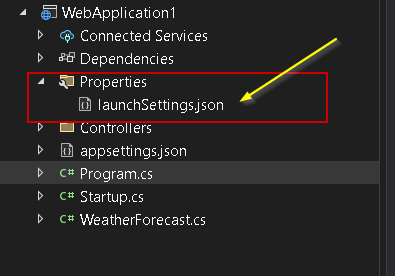
Every time we have created a with ASP.NET Core or Web API Core project the launchSettings.json file is also part of the creation process and it can be found in the Properties section of the Solution Explorer window.
If you’re asking and/or thinking. Why it is part of the creation process? Or you’re maybe curious about its purpose. You came to the right place, we’ll try to investigate this file.
Understanding launchSettings.json File
If we’re going to open this configuration file (launchSettings.json), you’ll be able to determine that it helps Visual Studio how to behave when launching an ASP.NET Core application.
Here are some points to keep in mind about this file.
- This file is only used within the local development machine, in other words, this file isn’t used or required when your project is published to the production server.
- The settings within the file are important for Visual Studio and if run the application using the .NET Core CLI. When using the .NET Core CLI see the command below.
dotnet runLet’s try to see an example of it below.
{
  "$schema": "http://json.schemastore.org/launchsettings.json",
  "iisSettings": {
    "windowsAuthentication": false,
    "anonymousAuthentication": true,
    "iisExpress": {
      "applicationUrl": "http://localhost:57005",
      "sslPort": 44385
    }
  },
  "profiles": {
    "IIS Express": {
      "commandName": "IISExpress",
      "launchBrowser": true,
      "launchUrl": "swagger",
      "environmentVariables": {
        "ASPNETCORE_ENVIRONMENT": "Development"
      }
    },
    "WebApplication1": {
      "commandName": "Project",
      "dotnetRunMessages": "true",
      "launchBrowser": true,
      "launchUrl": "swagger",
      "applicationUrl": "https://localhost:5001;http://localhost:5000",
      "environmentVariables": {
        "ASPNETCORE_ENVIRONMENT": "Development"
      }
    }
  }
}
The example above shows that we have settings for IIS and self-hosted applications (Kestrel).
If you try to check your Visual Studio, you’ll see both of these profiles.
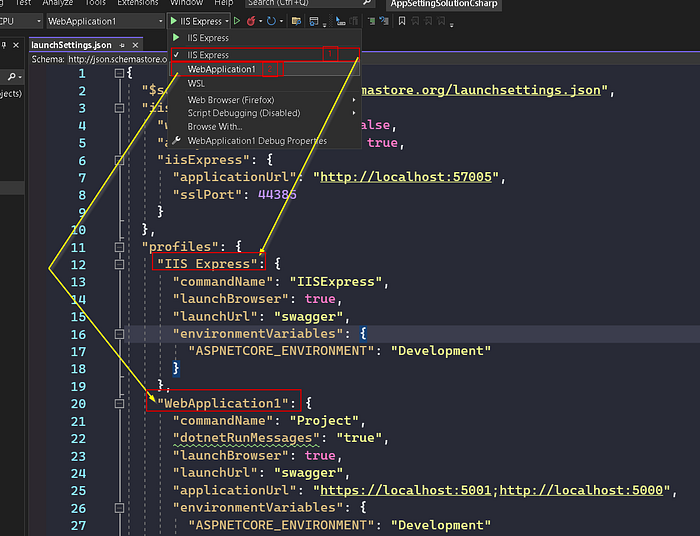
Going to the profiles sub-sections like launchBrowser, launchBrowser, applicationUrl, etc.
You can easily change the values by just typing directly into the file, with the right values you have in mind. Especially if port 5000 or 5001 aren’t your usual ports because it is already used by other applications within your machine.
If you think you’re not comfortable with that. You can use the “Launch Profile” to direct put or set the values of the properties offered by each profile. By going to “Debug Properties”.
See the short video clip below.
OK, now that we know that we can change those values. How about running Visual Studio and running it by choosing any of the profiles? Seems to be easy right? I’ll leave that to you.
How about running the project using the dotnet CLI and passing the launch profile? You can type the following command below.
dotnet run --launch-profile "YourProfileName"
I made a mistake by typing swaggers on the profile but I was making a point that you can change the value using the “Launch Profile”.
However, with the last short video clip that you have seen, we can run the dotnet core application using the CLI and pass the proper launch profile. Then lastly we have seen how the web-kestrel behaves when launched on the command line.
Till next time. See yeah. Cheers and bye.